

Junior Developer Focus - How to build your first Bootstrap website using Cloud9
Everything you build will be in the cloud. No installation required.
Basic Skills Required
- HTML
- CSS
- JS
Tools
- A development environment: https://c9.io/
- A Bootstrap template: https://startbootstrap.com/
Methods
- Step 1:
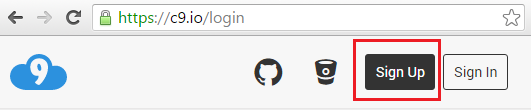
- Sign up for Cloud 9 free account at https://c9.io/
- Sign in to Cloud 9

- Step 2:
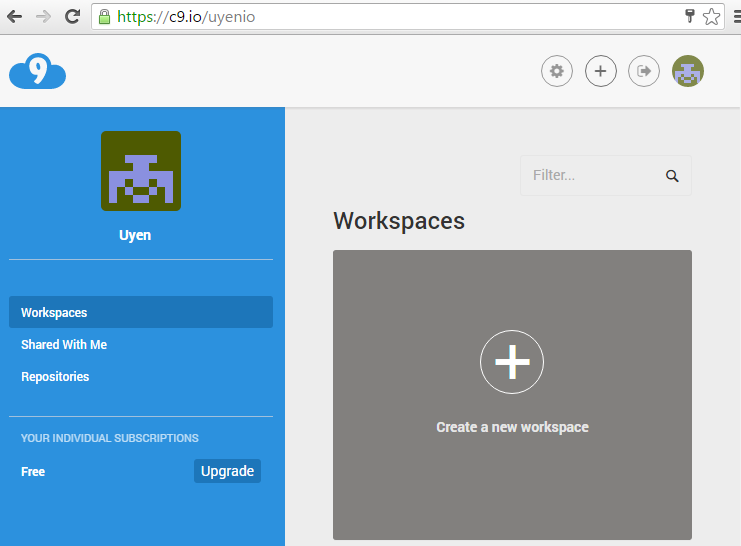
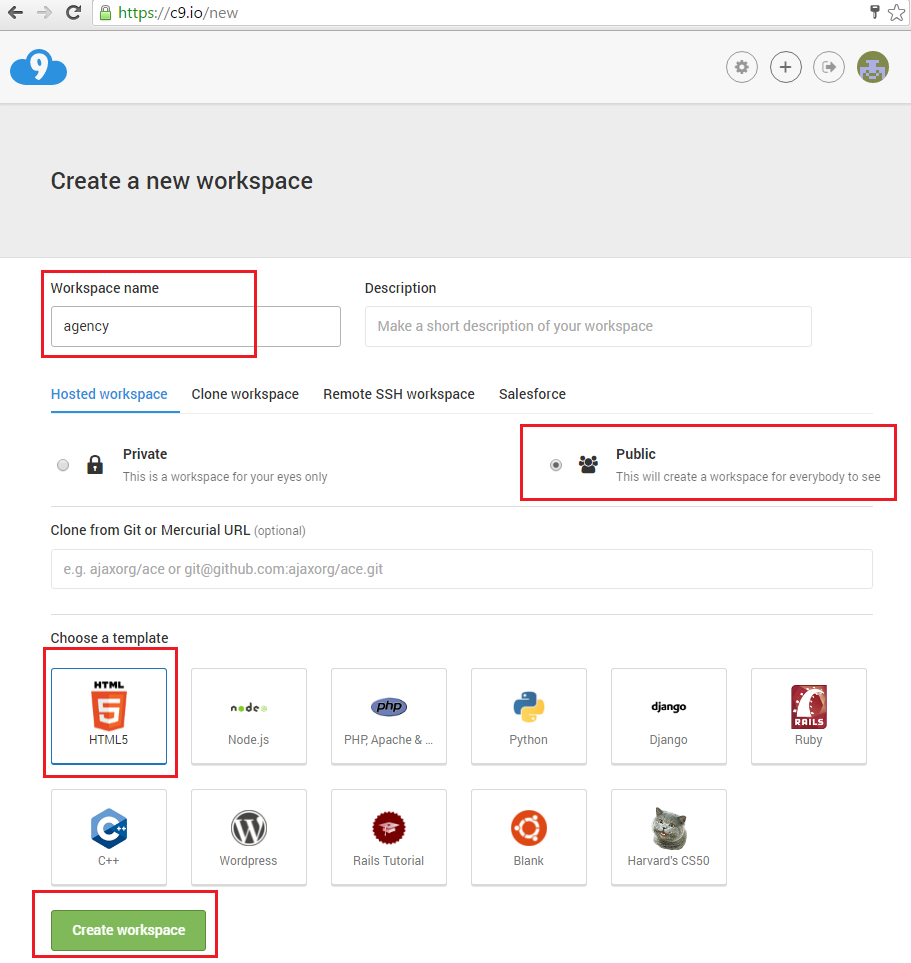
- Click on (+) icon to create new workspace
- Enter “Workspace name”, i.e. the name of your project
- Select either Public or Private. For free account, you can only create 1 private project.
- Choose HTML5 as a template
- Click on “Create workspace”
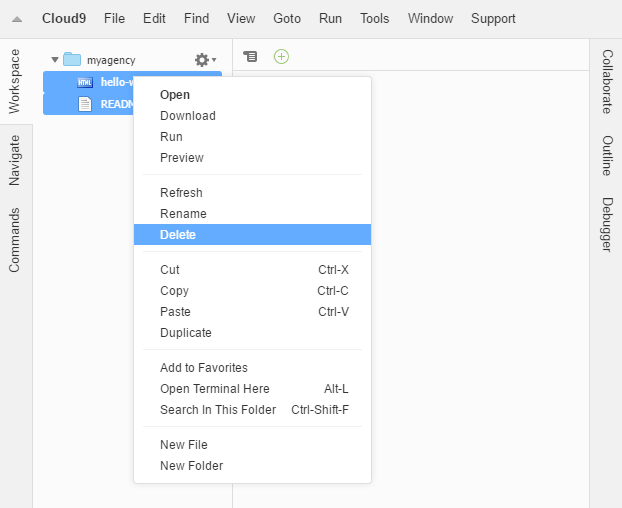
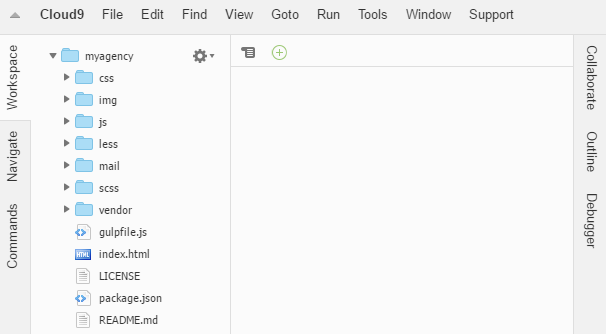
- Step 3: Delete the default hello-world.html and README.md files. Now you should have an empty project to work with.
- Step 4:
- Go to https://startbootstrap.com/.
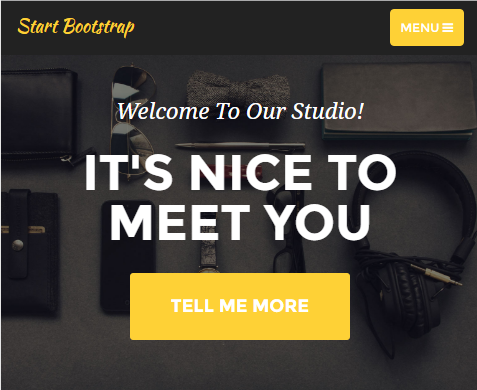
- Download a free Bootstrap template that suits your need. I often choose “Agency” because they provide the Contact Form that works beautifully right out of the box. https://startbootstrap.com/template-overviews/agency/
- Extract/unzip the template folder.


- Step 5:
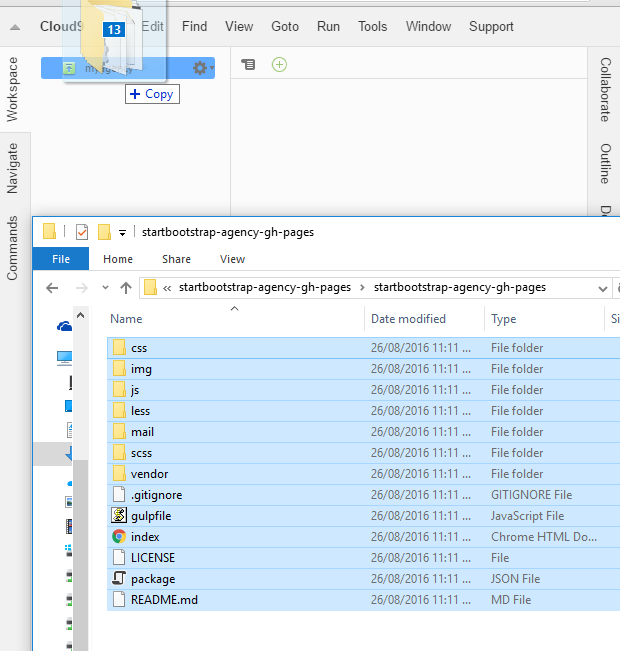
- Open the unzipped template folder side by side with the workspace.
- Ctrl + A to select everything in the folder
- Drag and drop them into the workspace to upload
- When the uploading process finishes, you will see similar structure like below in your workspace
- Step 6:
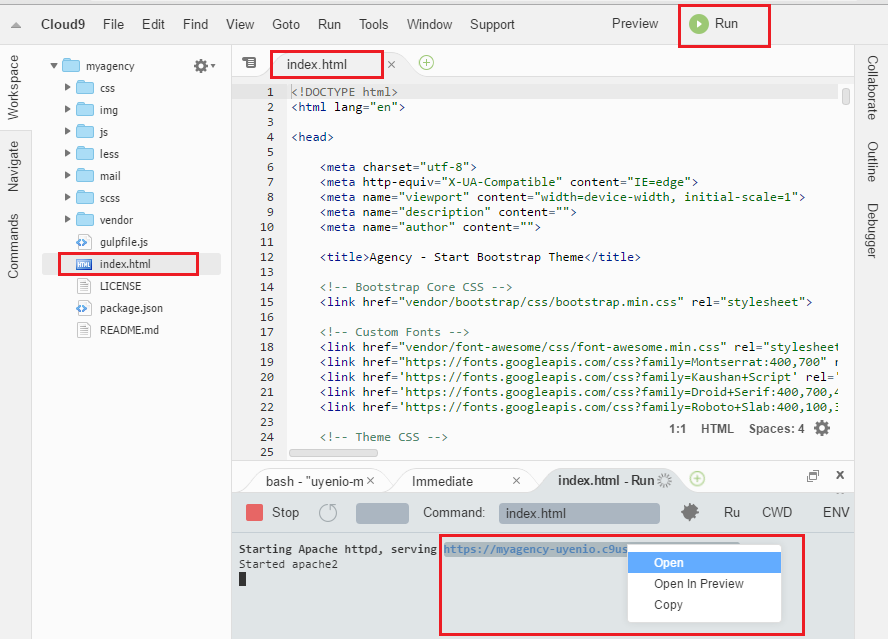
- Double click on index.html file
- Click on “Run” button. You will see in the console window near the end of your workspace the URL where your website is serving.
- Click on the link and click “Open”
- Step 7:
- Tada! Your website is up and running on Cloud9.
- Customise the content of your website.
- Change the email address on line 19 of the mail/contact_me.php file to your email address. Test the contact form. The message should be sent to the email address you provided.
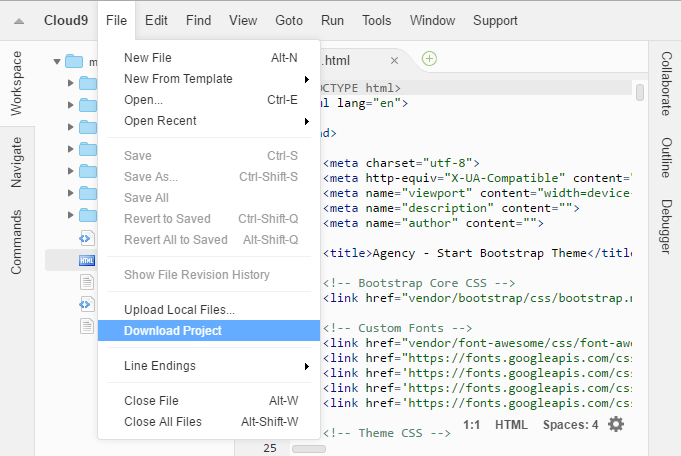
- Step 8: Once you are happy with your website and have tested thoroughly, download the project. You can then upload it to your hosting environment.